Vertical Hydroponic Tower – 7 Proven Ways to Grow Faster
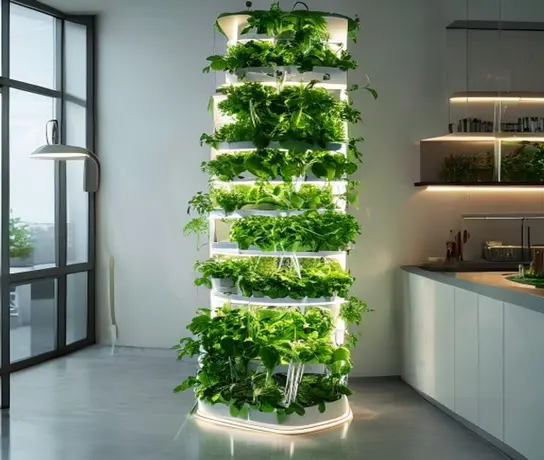
vertical hydroponic tower
The Core Mechanics of a Vertical Hydroponic Tower
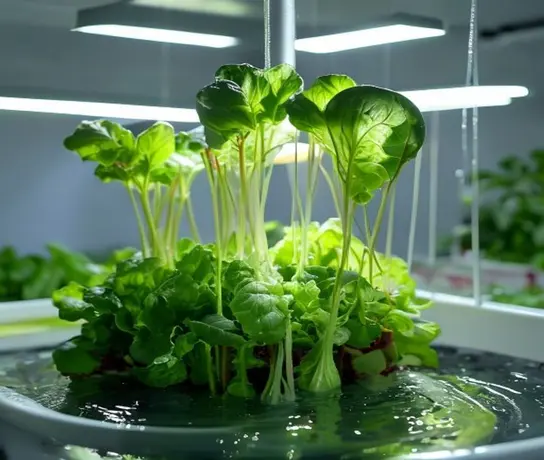
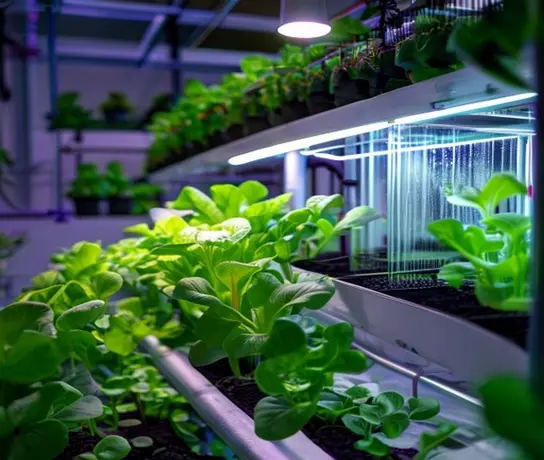
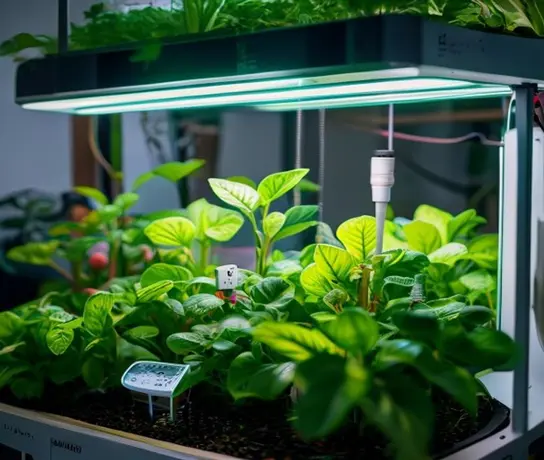
At its heart, a vertical hydroponic tower functions on principles of efficient nutrient delivery and space utilization. Water, enriched with essential plant nutrients, is pumped from a reservoir at the base to the top of the tower. From there, gravity draws the nutrient solution downwards, cascading over the roots of each plant before returning to the reservoir. This continuous cycle ensures plants receive a steady supply of hydration and nutrients. Most towers utilize a modified version of Nutrient Film Technique (NFT) or Deep Water Culture (DWC), where roots are either consistently bathed in a thin film of nutrient solution or suspended in a nutrient-rich mist (aeroponics). Grow media such as rockwool, coco coir, or clay pebbles typically provide initial support for seedlings and anchor plants within individual grow pots or net cups.Unpacking the Benefits of a Vertical Hydroponic Tower
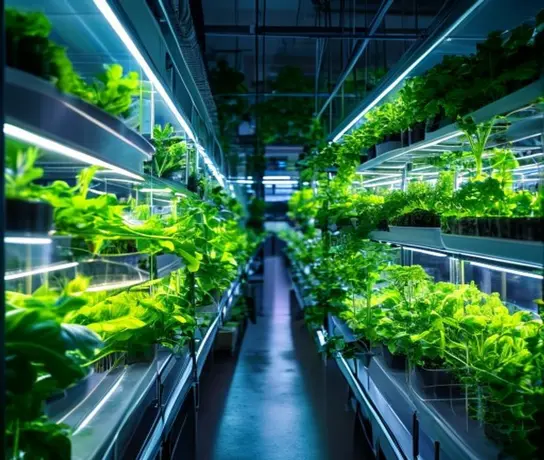
The advantages of integrating a vertical hydroponic tower into your cultivation strategy are compelling and widely documented. These systems offer a suite of benefits that address common gardening challenges.- Exceptional Space Efficiency: By growing upwards, towers can cultivate significantly more plants per square foot than traditional horizontal gardening, ideal for compact environments.
- Optimized Water Conservation: Recirculating systems can use up to 90% less water than soil-based gardening, as validated by agricultural extension services research, by minimizing evaporation and runoff.
- Accelerated Plant Growth: Direct access to oxygen, water, and perfectly balanced nutrients often leads to faster growth rates and increased yields.
- Reduced Pest and Disease Risk: Growing in a soilless environment significantly mitigates the presence of soil-borne pests and diseases, simplifying plant care.
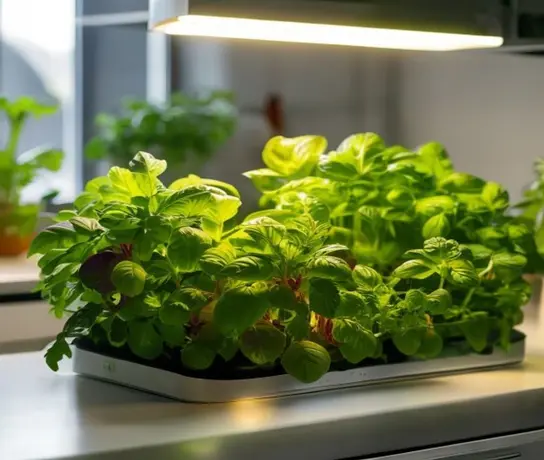
- Cleaner Cultivation: Eliminating soil means less mess, making towers suitable for indoor use in living spaces or kitchens.
Setting Up Your Vertical Hydroponic Tower System
Establishing your tower system is a straightforward process, but careful attention to initial setup ensures long-term success. Begin by selecting a stable, level location that receives adequate light. If natural light is insufficient, full-spectrum LED grow lights are a crucial investment, mimicking sunlight’s intensity and spectrum. The nutrient solution is the lifeblood of your tower. Always use hydroponic-specific nutrients, which come in a multi-part formula to ensure a complete mineral profile. Monitoring pH levels, ideally between 5.5 and 6.5 for most plants, and Electrical Conductivity (EC) or Total Dissolved Solids (TDS) is paramount. These readings indicate the nutrient strength and availability to your plants. According to guidelines from leading horticultural research institutions, consistent pH and EC are critical for nutrient uptake.Expert Insight: The pH Paradox and Nutrient Lockout
A common pitfall for new hydroponic growers is neglecting pH stability. While often overlooked, pH drift is a significant factor in nutrient lockout. Plants can only absorb specific nutrients within a narrow pH range. If your pH climbs too high or drops too low, even if nutrients are present in the solution, plants cannot access them. This can manifest as yellowing leaves or stunted growth despite a seemingly full nutrient reservoir. Regular daily or bi-daily pH checks and minor adjustments are far more effective than infrequent, drastic corrections. Consider using a buffered pH solution or maintaining a consistent reservoir temperature to help stabilize levels. This proactive monitoring, based on years of practical experience, prevents many common deficiencies that beginners attribute to incorrect nutrient ratios.| Plant Type | Optimal pH Range | Grow Media Recommendation | Light Requirements (DLI) |
|---|---|---|---|
| Leafy Greens (Lettuce, Spinach) | 5.5 – 6.0 | Rockwool, Coco Coir | 12-17 mol/m²/day |
| Herbs (Basil, Mint) | 5.5 – 6.5 | Rockwool, Clay Pebbles | 15-20 mol/m²/day |
| Strawberries | 5.8 – 6.2 | Coco Coir, Clay Pebbles | 18-25 mol/m²/day |
| Bell Peppers | 5.8 – 6.5 | Clay Pebbles, Rockwool | 20-30 mol/m²/day |
Related reading: see this related guide and compare more options here.
How to Choose the Right Option for Your Business
Start by listing the tasks that eat most of your week. Rank them by time cost, then match each one to a feature on your shortlist. Ask vendors for a live demo using your own data, not a canned sample. Check reviews from teams of your size, since enterprise feedback can mislead. Finally, test one option with a small pilot group before rolling it out to everyone.
Common Mistakes to Avoid
The biggest mistake is buying for features you will never use. Keep the stack lean and master the basics first. Another trap is skipping training, which leaves half the value on the table. Schedule one short session per week until the team is fluent. Review usage numbers monthly and drop tools nobody opens.
Final Verdict: Is It Worth It?
For most small teams, the answer is yes, provided you start lean and measure results. Pick one bottleneck, fix it well, then expand. Revisit your choice every year as pricing and features change. The detailed comparisons above give you a solid starting point.